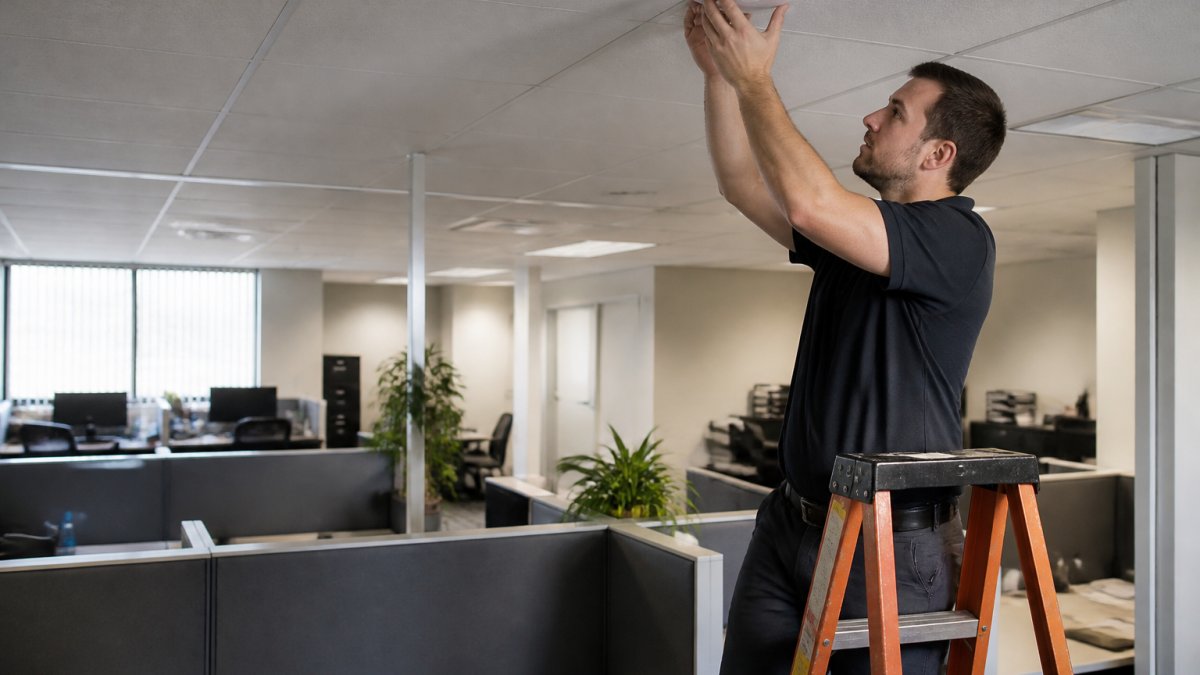
How to Fix Office WiFi Dead Zones: A Step-by-Step Guide
Office wifi dead zones are areas where Wi-Fi drops so low that devices disconnect or slow to a crawl. Finding them is the first step in fixing office wifi dead zones, walk the space and measure.
Table of Contents
- Step 1: Map Your Office Layout and Identify Dead Zones
- Step 2: Reposition Your Router and Adjust Antennas
- Step 3: Run WiFi Signal Strength Testing Tools
- Step 4: WiFi Interference Troubleshooting in Dense Offices
- Step 5: Upgrade to Commercial WiFi Access Point Installation
- Step 6: Address Building Materials and Physical Obstructions
- Step 7: Update Firmware and Review Security Implications
- Frequently Asked Questions
Last Updated: October 2, 2026
Step 1: Map Your Office Layout and Identify Dead Zones

Walk-Through Signal Mapping
Walk the office with a phone or laptop, checking signal strength in every room, hallway, and corner. Note where bars drop or pages load slowly.
- Test near windows, elevators, and stairwells
- Check conference rooms and break areas
- Test at desk height, not just standing
- Walk the perimeter, then the center
Documenting Problem Areas
Write down each weak spot and what's nearby. A dead zone next to a concrete pillar tells a different story than one near a microwave.
- List room names and signal strength
- Note nearby walls, metal, or appliances
- Mark high-traffic zones first
- Photograph each problem spot
Step 2: Reposition Your Router and Adjust Antennas
Router placement is the cheapest fix. A router in a closet or behind a metal cabinet loses range fast, move it to an open, central spot.
Optimal Router Placement for Offices
Put the router high, central, and clear of obstructions. Signal spreads outward and down, so a ceiling-height shelf beats a desk corner.
- Avoid closets, basements, and metal racks
- Keep it away from windows facing outside
- Central placement cuts the distance to every room
- Raise it above furniture when possible
Antenna Orientation and Directional Coverage
Antennas matter more than most people think: vertical ones push signal sideways, angled ones reach up or down a floor.
- Point one antenna straight up
- Angle others for hard-to-reach rooms
- Test each change with your signal app
- Recheck dead zones after every adjustment
Step 3: Run WiFi Signal Strength Testing Tools
Guessing wastes time. WiFi signal strength testing tools show real numbers, room by room, use them before and after every fix.
Built-In Router Diagnostics
Most routers include a basic signal and device list. Log into the admin panel and check connected devices and channel usage.
- Look for weak-signal devices
- Check which channel is busiest
- Review connected device counts
- Note any devices dropping offline
Professional-Grade Testing Apps
Free phone apps measure signal strength in dBm: lower negative numbers are stronger. Around -30 dBm is excellent; -80 dBm is unusable.
- Use a heat-mapping app for full coverage
- Test at multiple times of day
- Compare results before and after changes
- Save screenshots for your records
Step 4: WiFi Interference Troubleshooting in Dense Offices
WiFi interference troubleshooting starts with finding what's crowding your signal. Offices pack in dozens of devices competing for the same radio frequency space.
Identifying Common Interference Sources
Neighboring networks, Bluetooth devices, microwaves, and cordless phones all cause frequency interference. Dense buildings make this worse.
- Scan for nearby networks on the same channel
- Check for appliances near the router
- Look for thick metal or mirrored walls
- Note busy hours when slowdowns peak
Channel and Band Adjustments
Switch to a less crowded channel and move devices to 5GHz when possible. Dual-band and tri-band routers give you more room to spread traffic.
- Use 2.4GHz for range, 5GHz for speed
- Set the router to auto-select channels
- Split bands into separate SSIDs if needed
- Re-test after each change
FCC guide to Wi-Fi and radio frequency basics
Step 5: Upgrade to Commercial WiFi Access Point Installation
One router cannot cover a large office, and no amount of antenna tweaking changes that. Commercial WiFi access point installation spreads coverage across multiple units, each serving a zone and connected back to the network. This is the real fix for stubborn dead zones.
Access Points vs. Consumer Extenders
Extenders repeat a weak signal, so they repeat the weakness. Access points connect to your network directly and broadcast a strong, clean signal.
| Option | How It Works | Best For | Main Drawback |
|---|---|---|---|
| Consumer extender | Repeats existing signal | One small room | Halves throughput, weak uplink |
| Powerline adapter | Sends data over existing electrical wiring | Older buildings with no cabling | Performance depends on wiring quality and circuit layout |
| Mesh system (wireless backhaul) | Nodes share one network over radio | Mid-size offices, fast deployment | Each wireless hop cuts throughput |
| Mesh system (wired backhaul) | Nodes share one network over Ethernet | Offices needing full speed everywhere | Requires cable runs |
| Access point | Wired to the network, broadcasts independently | Offices needing full coverage and control | Needs cable runs and a PoE switch |
Wired Backhaul: Why It Is the Gold Standard
Wired Ethernet backhaul connects each access point to the network with a cable. Instead of receiving a signal over the air and re-transmitting it, the access point gets full bandwidth from the switch and broadcasts it locally, full speed at every point, no signal loss between units.
- Cable: Cat6 or Cat6a is the practical standard for new runs. Cat5e works for gigabit but leaves less headroom.
- Power: Use Power over Ethernet (PoE) so a single cable carries both data and power to each access point. PoE+ or PoE++ if the unit draws more.
- Switch: A PoE switch sized for the number of access points, with headroom for future units.
- Run length: Keep individual Ethernet runs within the standard 100-meter channel limit including patch cords.
- Path: Use plenum-rated cable above drop ceilings where required by local code.
Planning Coverage Around Office Layout
Office layout drives access point placement more than square footage does. Two offices of the same size need different designs.
- Open plan: Fewer access points, mounted high and central, with overlap between cells. Watch for signal absorbed by dense seating and by monitor banks.
- Cubicle farms: Cubicle partitions, especially fabric-wrapped or metal-backed panels, attenuate signal at desk height. Mount access points above the partition line and test at seated height, not standing.
- Private offices along a corridor: One access point per few offices, mounted in the corridor or in alternating offices, depending on wall material. Concrete or brick partitions may require one per office.
- Conference rooms: Treat each as its own cell. A packed room attenuates signal, and video calls need consistent throughput, not just bars.
- Warehouse or open industrial space: High ceilings and racking create shadow zones. Mount lower and use directional antennas where appropriate.
Channel Planning and Roaming
Multiple access points on the same channel interfere with each other. Plan channels so adjacent units do not overlap.
- Use non-overlapping channels on 2.4GHz (1, 6, 11) and spread 5GHz channels across the available spectrum.
- Keep one SSID across all access points so devices roam seamlessly.
- Enable band steering so capable devices prefer 5GHz and leave 2.4GHz for range and legacy devices.
- Set minimum signal thresholds so devices drop a weak access point and join a stronger one instead of clinging to a distant unit.
- Re-test after every change with your signal app, at desk height and in the problem rooms.
FCC guide to Wi-Fi and radio frequency basics
Step 6: Address Building Materials and Physical Obstructions
Building materials decide how far your signal travels, unevenly across frequencies. This is the biggest reason a fix that works in one office fails next door. Before buying anything, understand what your walls do to the radio signal.
Why Materials Matter More Than Distance
Wi-Fi is a radio wave, and every material it passes through absorbs, reflects, or refracts some of that energy. Loss is measured in decibels (dB) and is frequency-dependent: higher frequencies lose more energy through the same material. That is why a 5GHz signal strong in the hallway can collapse behind one concrete wall while 2.4GHz still limps through.
Attenuation by Material Type
Use these as planning ranges, not lab-exact figures. Actual loss depends on thickness, moisture content, rebar density, and angle of incidence.
- Drywall / interior partition: minimal loss. Signal passes through several walls before it degrades noticeably.
- Wood studs and plywood: low loss. Rarely the culprit on its own.
- Brick: moderate to heavy loss. Older load-bearing brick walls are common in downtown office conversions and behave very differently from modern partitions.
- Concrete, especially reinforced: heavy loss. Rebar and post-tension cable turn a concrete wall into a near-blocker at 5GHz.
- Metal studs, ductwork, and metal mesh: reflect and scatter signal. A wall that looks like drywall may be a Faraday cage behind the paint.
- Low-E and tinted glass: metallized coatings reflect signal back. Exterior glass walls can trap coverage inside a room or block it from a hallway.
- Water and people: absorb signal. A packed conference room attenuates more than an empty one, and a fish tank or water feature is a localized dead zone.
Reading the Building Before You Buy Hardware
Walk the space with your signal app and note what is between you and the access point, not just distance. A common pattern: strong signal in the open office, dead zone in a corner conference room separated by a concrete shear wall, short distance, but the material is the problem.
- Identify load-bearing walls, elevator shafts, and stairwell cores. These are almost always signal barriers.
- Check whether interior walls are drywall or masonry by tapping or checking the building plans.
- Look for metal-backed whiteboards, server racks, and filing cabinets along the path.
- Note exterior glass walls with reflective coatings.
- Test the same spot on 2.4GHz and 5GHz. If 2.4GHz works and 5GHz does not, the material is the variable.
Mitigation Strategies for Challenging Layouts
You cannot move a load-bearing wall, so work around it. The rule is simple: put an access point on the user side of the barrier, not the far side of a signal you are trying to push through.
- Segment by material, not by square footage. Treat each concrete-bounded zone as its own coverage cell.
- Use hallways and open ceilings for cable runs. Plenum space above a drop ceiling is usually the cheapest path to the far side of a wall.
- Mount on the user side of the barrier. An access point in the hallway serving a concrete-walled office will underperform one mounted inside the office.
- Prefer 2.4GHz for the hardest-to-reach pockets. Lower frequency penetrates better; accept the lower throughput where coverage beats speed.
- Avoid mounting behind metal. A unit on a metal wall, inside a metal cabinet, or above a metal ceiling grid can lose a large fraction of its effective range.
Step 7: Update Firmware and Review Security Implications
Firmware updates fix bugs, close security holes, and sometimes improve range. Skipping them leaves your network slow and exposed.
Firmware Update Checklist
- Log into the router or access point admin panel
- Check the current firmware version
- Download the latest from the maker's site
- Back up your settings first
- Install the update and reboot
- Re-test coverage and speed
Security Risks of Extenders and Boosters
Cheap extenders often ship with weak default passwords and outdated encryption. Some don't support current Wi-Fi security standards at all, opening a back door into your network.
- Change default admin passwords
- Use WPA3 or WPA2 encryption
- Update extender firmware too
- Remove old extenders you no longer use
CISA guidance on securing wireless networks
Frequently Asked Questions
How can I fix Wi-Fi dead zones in my office?
Start by mapping your office layout and identifying dead zones with a signal testing app. Reposition your router to a central, elevated location, adjust antennas, and switch to a less congested channel. If dead zones persist, especially through concrete or metal walls, upgrade to commercial Wi-Fi access points with wired backhaul. For offices larger than 2,000 square feet, a mesh system or multiple access points often provides the most reliable coverage. Professional installation ensures proper placement and configuration.
What causes WiFi dead zones in a commercial office environment?
Common causes include physical obstructions like concrete walls, metal studs, and glass with metallic coatings; interference from other wireless devices and neighboring networks; router placement in a closet or corner; outdated firmware; and insufficient coverage area for the number of client devices. In dense office environments, channel congestion and signal attenuation over distance also contribute. Identifying these factors through signal testing and a site survey helps determine the right fix.
What is the difference between a WiFi extender and a commercial access point?
A Wi-Fi extender repeats an existing signal, often halving throughput and introducing latency, and it can create security gaps if not properly configured. A commercial access point connects via Ethernet to your network, delivering full bandwidth, better client capacity, and centralized management. For offices with many devices and high-throughput needs, access points with wired backhaul are the more reliable and secure choice. They also support seamless roaming, which is critical for VoIP and video conferencing.
How do physical obstructions like concrete walls affect office WiFi signals?
Concrete walls, especially those with rebar or metal mesh, significantly attenuate Wi-Fi signals, particularly on the 5GHz band. Metal studs, filing cabinets, and even aquariums can block or reflect radio frequency waves, creating dead zones. To mitigate, place access points in line-of-sight paths, use 2.4GHz for better penetration where needed, or install additional access points on the other side of the obstruction. A professional site survey can map signal propagation and recommend optimal placement.
- Hits: 8