Integrate Social Media Feeds with LED Displays: A Step-by-Step Guide
To integrate social media feeds with an LED display, first confirm your media player can run a live web feed at the wall's native resolution, then connect business accounts or hashtags through your signage software. Build a feed widget, design the layout for viewing distance, moderate posts before they air, and schedule the feed alongside planned content.
Quick Summary
- Confirm the media player can run a live browser or stream and output the wall's native resolution.
- Use a business or creator account so the feed survives staff changes.
- Watch access token expiration, which is the most common reason a feed freezes.
- Turn on approval mode and review user posts before they reach the screen.
- Test the feed from the actual viewing distance, not from the control desk.
Table of Contents
- What You Need Before You Start: Hardware vs. Software Requirements
- Step 1: Connect Your Social Media Accounts and Hashtags
- Step 2: Set Up the Social Media Widget and Configure the Live Feed
- Step 3: Design the Feed Layout for Your LED Screen Resolution
- Step 4: Moderate and Approve User-Generated Posts Before They Air
- Step 5: Schedule Content and Refresh the Feed in Real Time
- Troubleshooting Your Feed and Testing It From Viewing Distance
- Getting Your Social Feed Live on Your LED Display
- Frequently Asked Questions
What You Need Before You Start: Hardware vs. Software Requirements
Last Updated: November 15, 2026
Most LED feed projects fail for a boring reason: nobody checks whether the media player can handle a live social feed.
Social media feeds on LED displays show customers, staff, or visitors what is happening right now.
Here is the short version. Hardware decides whether the screen can show the feed. Software decides what the feed looks like and how it stays current.
LED Screen Compatibility and Media Player Requirements
Start with the screen. Check the controller and media player first, because they decide what content the display can accept.
Key items to confirm:
- Media player type: A dedicated media player or a PC-based player that can run a browser or app
- Network connection: Wired Ethernet is usually more stable than Wi-Fi for a live feed
- Resolution support: The player must output the screen's native resolution without scaling problems
A common mistake is assuming any media player will display a live feed.
Running a network cable to the media player is generally more reliable than relying on Wi-Fi alone. If your building has older cabling, have it tested before installation day.
How LED Controllers, Sending Cards, and Processors Constrain a Live Feed
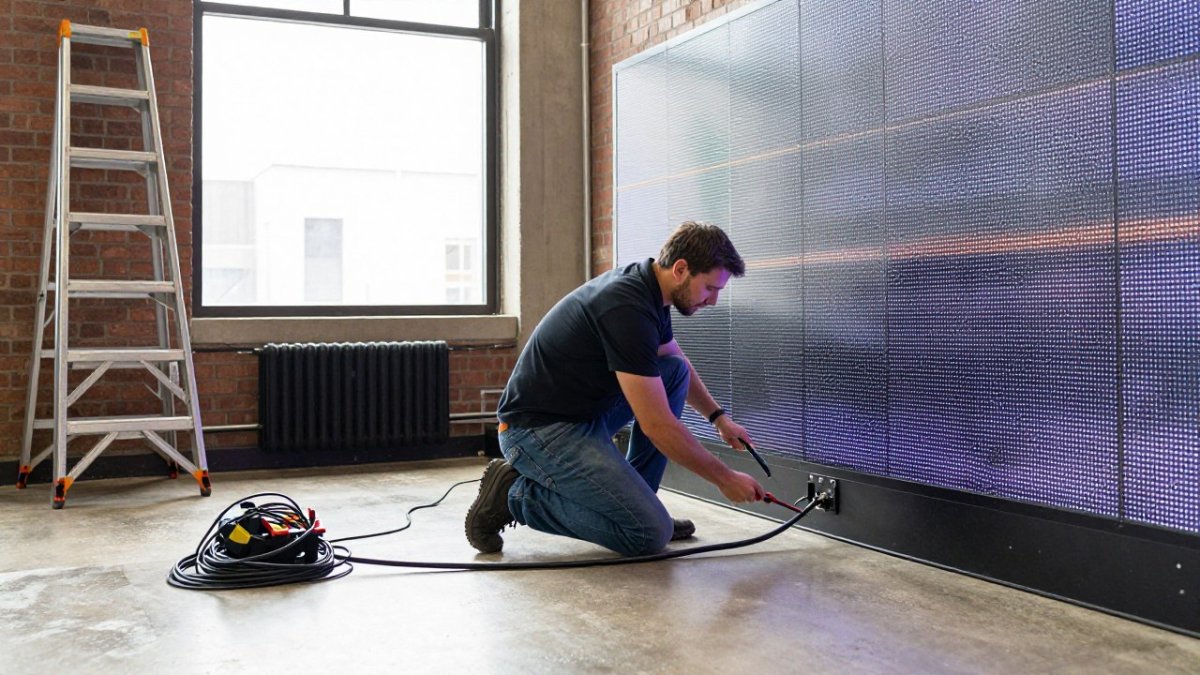
An LED display is not a monitor you plug a laptop into. It is a chain: a media player or PC feeds a sending card, which drives receiving cards on each cabinet, which light the pixels.
- Native resolution is fixed by the cabinet layout. A wall built from 500 mm by 500 mm cabinets at a given pixel pitch has one native resolution. If your media player outputs 1920x1080 but the wall is 1280x720, the processor scales the image, and scaled text on an LED wall looks soft or jagged. Set the player to the wall's native resolution and design the feed layout at that size.
- Sending card capacity caps total pixels. Sending cards are rated in pixels, not inches. A card rated for roughly 1.3 million pixels cannot drive a wall that needs 2 million. If the wall is larger than one card can handle, you need multiple cards or a processor that maps the canvas across them. A feed widget that assumes one continuous canvas will break at the seam.
- Processors add latency and may not pass web content cleanly. Video processors handle scaling, switching, and edge blending. Some pass a clean progressive signal; others re-time or de-interlace, which can make a slowly refreshing feed flicker or tear. Ask the integrator whether the processor in the chain is rated for the player's output format and refresh rate.
Watch out: a media player that works perfectly on a test monitor can fail on the wall because the sending card rejects its output timing.
Software Requirements That Depend on the Hardware
Software is not independent of hardware. A platform that renders feeds in a browser needs a player that can run that browser at the wall's native resolution; a platform that renders server-side and pushes video needs a player that accepts a stream. Match the rendering model to the player, and confirm the player can hold a live browser session for hours without leaking memory or dropping the connection.
Once your hardware and software are confirmed, you are ready to start the setup steps below.
Step 1: Connect Your Social Media Accounts and Hashtags
Connecting accounts is where the feed begins, and where most feeds quietly die weeks later. Most platforms require you to log in and approve the software's access, but the details, which permissions, which account type, how long the token lasts, determine whether the feed keeps working. Use a business account, not a personal one, so the feed survives staff changes.
- Create or sign in to the business account on each social platform.
- Open your signage software's social settings.
- Authorize each account. Approve only the permissions the feed needs.
- Add hashtags or keywords if you want posts from people beyond your own accounts.
- Save and run a test pull to confirm posts appear.
Platform API Permissions and Token Expiration
Every social platform exposes its data through an API, and the API decides what your signage software can read. Three limits matter most:
- Permission scope. Reading your own account's posts usually needs a basic read permission. Reading public posts by hashtag or keyword often needs a broader permission the platform may grant only to approved apps. If your software asks for a permission the platform has not granted it, the feed connects but returns nothing.
- Token lifetime. Access tokens expire. Some last about an hour and refresh automatically; others last 60 days and must be renewed. When a token expires and the software cannot refresh it, the feed freezes on the last post it pulled. This is the single most common cause of a feed that worked last month and is blank today.
- Account type. Business and creator accounts generally expose more data through the API than personal accounts. A feed built on a personal account can break when the platform tightens access or when the employee who owns the account leaves.
Watch out: a feed that connects successfully during setup can still return zero posts if the app's permission review is pending. Confirm the software's app is approved for the data you need before you build the layout around it.
Hashtag and Keyword Search Limits
Hashtag feeds are not a complete firehose. Platforms limit how far back a hashtag search reaches, how many results it returns per request, and whether it returns recent or top posts. A hashtag that looks busy in the app can return a thin trickle through the API.
- Test with the exact hashtag your audience uses, not a guess, and check the result count in the signage software rather than in the platform's own search.
- Prefer hashtags that are specific to your venue or campaign; broad hashtags are more likely to hit result caps and to pull content you do not want.
- Expect some hashtag searches to be unavailable entirely if the platform restricts them for third-party apps. Have a fallback source ready.
Keeping the Connection Alive
Build a short routine so the feed does not silently expire. Check the feed each morning, confirm the account is still connected, and reauthorize any account the software flags. When a platform changes its access rules, reconnect the account rather than rebuilding the widget; good software lets you reauthorize without losing the layout.
The table below summarises the main ways connection problems break a feed, so you can check each one during setup.
| Issue | Cause | Fix |
|---|---|---|
| Feed connects but shows nothing | App permission review still pending | Confirm the app is approved for the data you need |
| Feed freezes on the last post | Access token expired and did not refresh | Reauthorize the account the software flags |
| Feed works, then goes blank | Owner of a personal account left | Use a business or creator account |
| Hashtag returns a thin trickle | Platform caps hashtag search results | Use venue-specific hashtags and test the result count |
Step 2: Set Up the Social Media Widget and Configure the Live Feed
With accounts connected, build the widget that will display the feed. The widget is the piece that turns raw posts into something readable on a large screen.
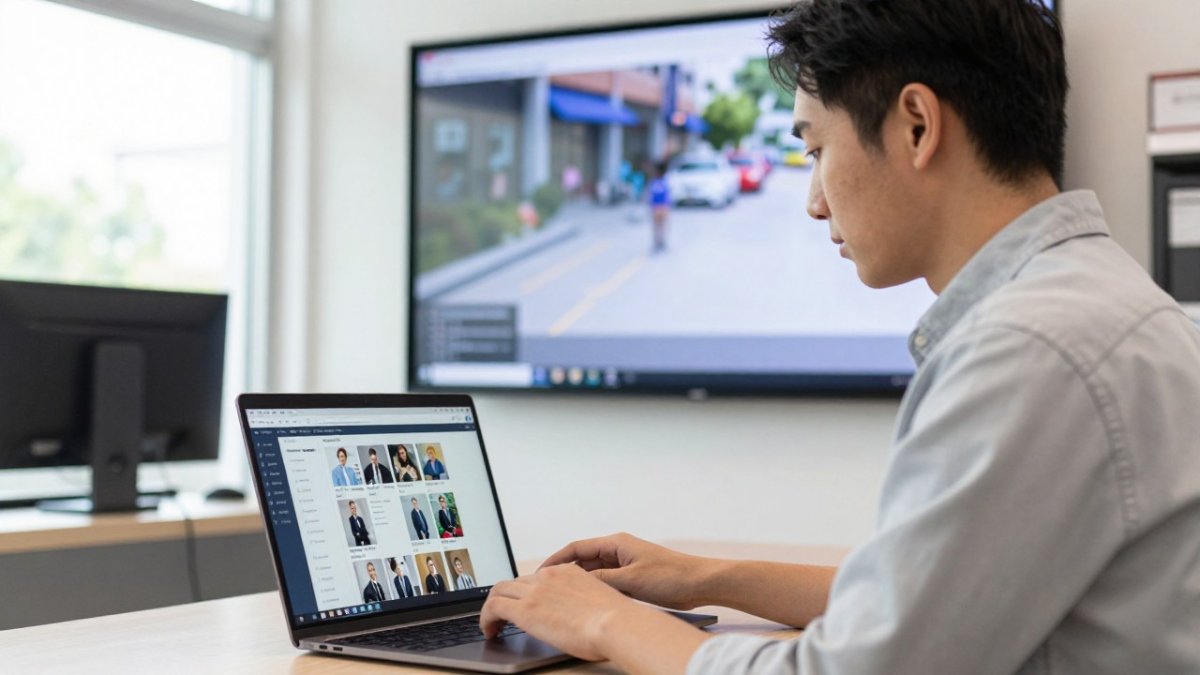
- Add a social media widget or feed panel to your display layout.
- Choose the sources the widget pulls from: accounts, hashtags, or both.
- Set the refresh interval. Many teams start at 30 to 60 seconds.
- Turn on display options such as usernames, timestamps, and captions.
- Preview the feed on the actual screen, not just on a laptop.
Preview on the real display: text that looks fine on a monitor may be too small across a lobby. Confirm the feed updates on its own, without a restart.
Step 3: Design the Feed Layout for Your LED Screen Resolution
Layout turns a feed from a jumble into something people can follow. Design for the screen's actual resolution and the distance viewers will stand from it.
Consider these points:
- Pixel pitch and viewing distance: A finer pitch works for close viewing. A coarser pitch needs bigger text.
- Text size: Use large, high-contrast type so posts read from the back of the room.
- Post density: Show fewer posts per screen. Crowded layouts are hard to read.
Test the layout at the distance your audience will stand. A feed that reads well from three feet can fail completely from thirty.
A simple layout with one or two posts at a time often reads better than a dense wall of text.
Step 4: Moderate and Approve User-Generated Posts Before They Air
Public posts can include spam, offensive language, or content your brand does not want on a screen. Set up a moderation step before anything goes live.
- Turn on approval mode in your signage software.
- Assign one or two people to review new posts each day.
- Set clear rules: no personal information, no competitor names, no offensive content.
- Keep a blocked list for accounts or words that repeat problems.
- Log removals so you can see patterns over time.
A common mistake is turning moderation off to keep the feed fresh.
Privacy also matters. Do not show faces, license plates, or personal details without permission. Check your building's policies and any local rules before you display customer content.
Step 5: Schedule Content and Refresh the Feed in Real Time
A good feed mixes live posts with planned content. Schedule promotions, announcements, and branded slides for set times, and let the social feed fill the rest.
Set up your schedule like this:
- Live feed windows: Run the social feed during peak hours when people are most likely to look up
- Planned slides: Use scheduled slides for offers, events, and safety notices
- Fallback content: Create a default loop that runs if the feed stops
Real-time updates depend on your connection. If the feed stalls, check the network first, then the platform connection, then the widget settings.
For retail and office spaces, running the feed during open hours and switching to brand content after closing is a practical approach.
Troubleshooting Your Feed and Testing It From Viewing Distance
Most feed problems fall into three groups: connection, content, and display. Work through them in order.
Connection problems:
- The feed freezes: Check the media player's network link and restart the player if needed
- Posts stop appearing: Reconnect the social account; platform access tokens sometimes expire
Content problems:
- Wrong posts appear: Tighten your hashtag or account list and review moderation rules
- Too few posts: Broaden hashtags or add more source accounts
Display problems:
- Text is cut off at the edges: Adjust the layout margins for the screen's resolution
- Text is hard to read: Increase font size and contrast, then retest from the far end of the room
Test from viewing distance, not the control desk. Walk to where most people will stand and confirm every line of text is readable, then repeat the test after any layout change.
Reliability also depends on the building. Old or poorly documented cabling can cause intermittent drops that look like software bugs.
Getting Your Social Feed Live on Your LED Display
You now have the full sequence: confirm hardware, choose software that supports social feeds, connect accounts, build the widget, design the layout, moderate content, and schedule the display.
If you want help with any part of this, from checking your media player and network cabling to setting up a LED video wall, contact Dalcorp Solutions Inc for a site review and a clear plan.
Frequently Asked Questions
How do you display social media feeds on an LED screen?
Connect your social accounts or hashtags to digital signage software that offers a social media widget, then add that widget as a zone in a playlist on the screen's media player. The player pulls the feed over the network and renders it on the LED display. Choose software that supports your platforms, confirm the media player can handle the screen resolution, and test the feed before it goes live in a public space.
Can an LED display show a live Instagram or Facebook feed?
Often yes, but platform rules limit what you can do. Instagram and Facebook restrict how third-party tools access posts, and some hashtag or public-account feeds need authentication that expires or changes. Confirm with your software vendor which platforms and content types are supported, and plan a fallback message for when a connection drops.
How do you moderate social media posts before they appear on a screen?
Use a software setting that holds new posts in a queue until a staff member approves them. Set rules for blocked words, accounts and image types, and review the queue at a set frequency during open hours. Keep a record of approved and rejected posts so you can show your brand-safety process if a question comes up later.
Why is my social media feed not updating on my LED display?
The most common causes are an expired platform authorization, a media player that lost its network connection, or a playlist that is paused or scheduled to end. Check the feed status in your software first, then confirm the player is online and the feed source is still authorized. Restart the player after changes and verify the update within your normal refresh interval.

- Hits: 17