Upgrading Old Low Voltage Building Wiring: A 2026 Guide
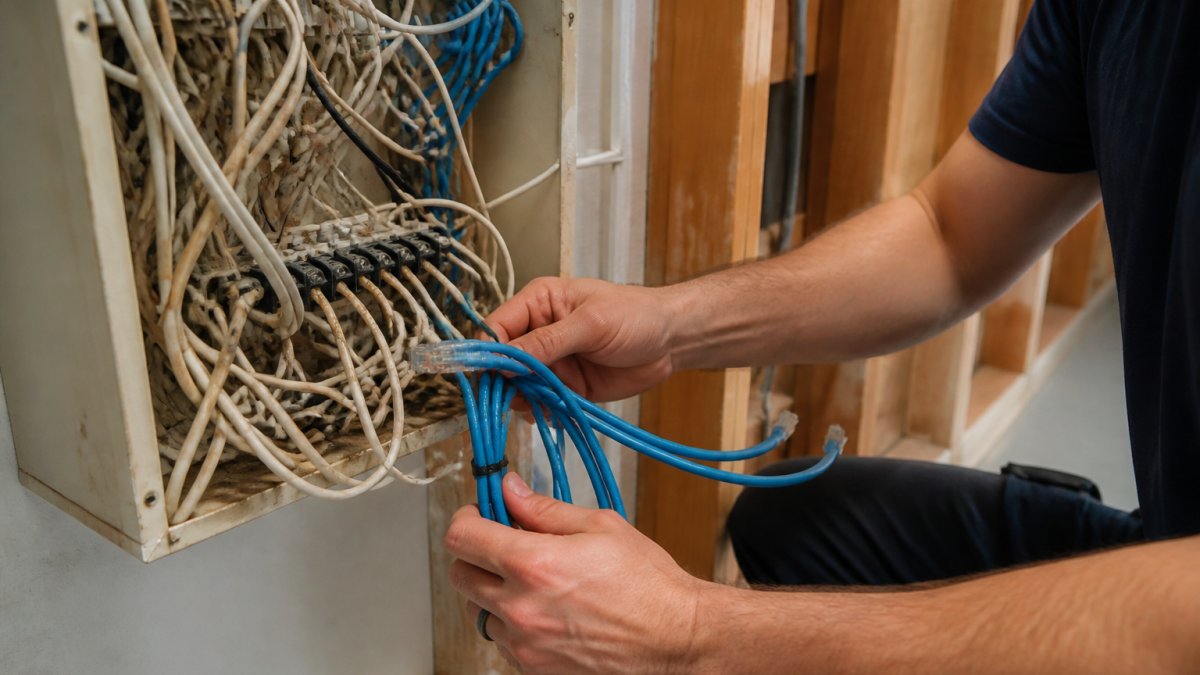
Upgrading old low voltage building wiring starts with spotting the warning signs before a system fails completely. Upgrading old low voltage building wiring starts with spotting the warning signs before a system fails completely.
Table of Contents
- How to Tell Your Low Voltage Wiring Needs an Upgrade
- Step-by-Step: Diagnosing and Replacing Old Low Voltage Wiring
- NEC Low Voltage Wiring Standards Every Upgrade Must Meet
- Benefits of Upgrading to Cat 6 Cabling
- The Real Cost to Replace Low Voltage Wiring
- DIY vs. Professional Installation: What Makes Sense
- Future-Proofing with Conduit and Smart Home Integration
- Frequently Asked Questions
Last Updated: September 30, 2026
How to Tell Your Low Voltage Wiring Needs an Upgrade
- Lights that flicker or buzz when you flip a switch
- Switches that feel warm or need a hard press to work
- A master switch that no longer controls a full zone
- Dead pilot lights on relay panels
- Cracked or brittle wire insulation at terminal blocks
Step-by-Step: Diagnosing and Replacing Old Low Voltage Wiring
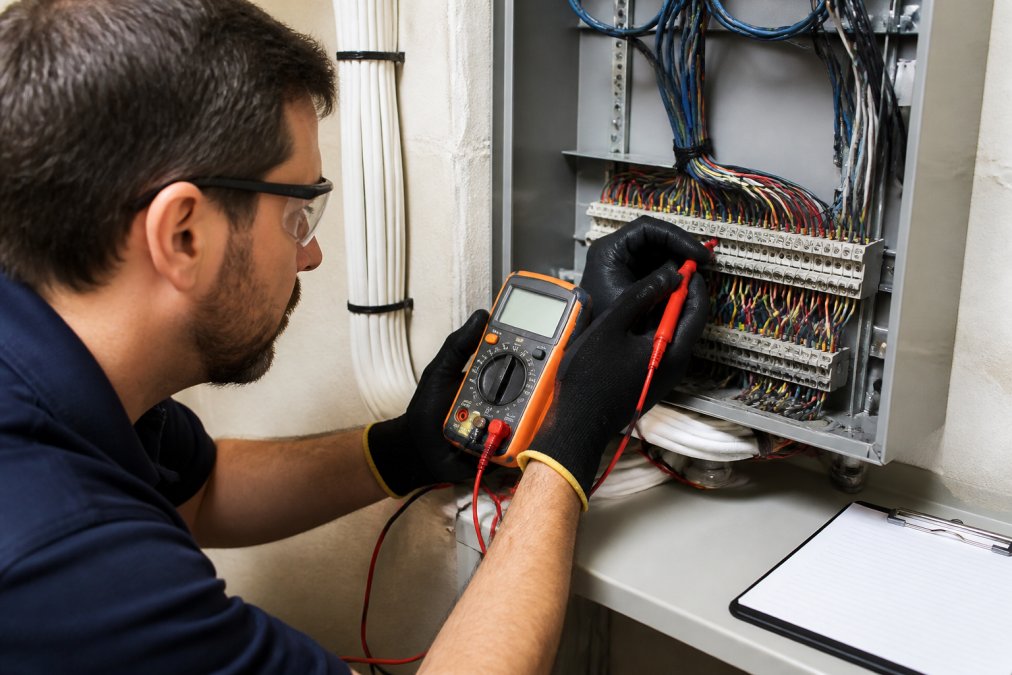
Diagnosing and replacing old low voltage wiring follows a clear sequence: test, isolate, replace, then verify. Rushing any step leads to callbacks.
What You'll Need Before You Start
Gather your tools first so you're not running to the truck mid-job:
- A digital multimeter for voltage and continuity checks
- A toner and probe to trace signal cable runs
- Replacement terminal blocks and wire nuts
- A voltage drop calculator or app
- Labeling tape and a permanent marker
- Safety glasses and insulated gloves
Common Mistakes to Avoid During Replacement
Other traps to dodge:
- Mixing old relays with modern smart switches without checking compatibility
- Forgetting to label wires before disconnecting them
- Ignoring the amperage rating on a replacement transformer
Here's the diagnostic sequence that works:
- Kill power at the breaker and confirm with your meter
- Test circuit continuity from the switch to the load
- Measure voltage at the transformer output
- Check the relay coil for resistance
- Trace any signal cable that reads dead
- Replace the failed component and re-test
Expected Result: Steady voltage at the load and a switch that responds on the first press.
NEC Low Voltage Wiring Standards Every Upgrade Must Meet
The National Electrical Code sets clear rules for low voltage work, and ignoring them creates real liability. For an upgrade, the sections that matter most are Article 725 (Class 1, Class 2, and Class 3 circuits), Article 300 (wiring methods), Article 800 (communications circuits), and Article 760 (fire alarm) when the same pathway carries life-safety signaling. The National Fire Protection Association's NEC overview publishes the code cycle updates that govern this work, and most jurisdictions adopt a new edition on a rolling basis, confirm which edition your authority having jurisdiction (AHJ) enforces before you pull a permit.
Class 2 vs. Class 3: Why the Distinction Changes Your Upgrade
Article 725 splits low voltage into classes based on the power source and the risk of the circuit. The class determines how you can run the cable, whether you can share a raceway with other systems, and what insulation and conductor sizes are acceptable.
- Class 2 circuits are limited to lower power (the code caps them at 100 VA for the common 0-20V range) and are the class most legacy 12V and 24V lighting and relay control systems fall into.
- Class 3 circuits use the same voltage ranges but allow higher current and are treated more like a signaling circuit, the installation rules tighten accordingly.
- Class 1 circuits are effectively treated like line-voltage power wiring and must follow the same wiring methods as Article 300 branch circuits.
Separation, Support, and Box Fill
Three rules trip up almost every retrofit:
- Separation from line voltage. Class 2 and Class 3 conductors generally cannot share a raceway, box, or cable with power conductors unless the barrier or jacket is rated for it. Running low voltage signal cable in the same conduit as line voltage causes interference and fails inspection.
- Support and protection. Cable must be secured within 12 inches of a box and every 4.5 feet along the run, and it must be protected where it passes through framing or is exposed to physical damage. In older buildings, the original installers often stapled cable to the underside of joists with no protection at all, that has to be corrected during the upgrade.
- Box fill and terminal space. Adding a smart control module inside an existing switch box often exceeds the box's cubic-inch capacity. Count the conductors, the module, and the connectors before you close the wall, or you will be reopening it.
What an Inspector Actually Looks For
A low voltage rough-in inspection is not a formality. Expect the inspector to check:
- The class rating of the transformer and whether the cable matches it
- Separation from line-voltage conductors at every shared box and raceway
- Cable support intervals and protection at penetrations
- Grounding and bonding of metal enclosures and racks
- Labeling at both ends of every signal run
- Whether the work was done under a permit at all, unpermitted low voltage work is a common insurance problem
Benefits of Upgrading to Cat 6 Cabling
The benefits of upgrading to Cat 6 cabling come down to speed, headroom, and future capacity. Cat 6 handles higher bandwidth than older Cat 5 or Cat 3, which matters as more devices join the network.
The practical wins:
- Higher throughput for video surveillance streams
- Better support for PoE devices like cameras and access readers
- Room to grow without re-cabling in a few years
- Cleaner integration with structured cabling standards
The Real Cost to Replace Low Voltage Wiring
The cost to replace low voltage wiring depends on building size, cable runs, and how much of the system you touch. There's no single number.
Factors that move the price:
- Total linear feet of cable to replace
- Whether existing conduit can be reused
- Number of relay panels and transformers
- Access difficulty behind finished walls
- Whether you add smart controls at the same time
DIY vs. Professional Installation: What Makes Sense
DIY vs. professional installation comes down to scope, code, and risk. Swapping a single switch plate is a reasonable weekend task. Rewiring a commercial panel is not.
Do it yourself if:
- You're replacing one switch or one relay
- The circuit is already labeled and documented
- You're comfortable with a multimeter
- Local code allows homeowner work
Hire a pro if:
- You're touching the main panel or transformer
- The building is commercial or multi-tenant
- You need code compliance documented for insurance
- The wiring runs behind finished walls
Future-Proofing with Conduit and Smart Home Integration
Future-proofing with conduit means installing pathway now so you never open the walls again. Smurf tube, flexible corrugated nonmetallic conduit, sold under that trade name and as ENT (electrical nonmetallic tubing), is a common choice because it bends around framing, accepts a pull string, and lets you add cable later without cutting drywall.
The Smart Home Bridge: How to Keep Legacy Relays and Gain App Control
A legacy low voltage lighting system is a set of relays that respond to a control voltage. If you can drive that control voltage from a modern device, you keep the relays, the transformers, and the existing cable, and you gain app and voice control on top.
- Dry-contact bridge. The most universal method. A smart relay module with dry contacts (a common example is a Wi-Fi or Zigbee relay board with isolated contacts) wires in parallel with the existing low voltage switch leg. When the smart module closes its contact, the legacy relay sees the same signal it always did. The old switch plate still works as a manual override.
- Protocol bridge. If the panel uses a known control protocol, a gateway that speaks that protocol on one side and a modern smart-home protocol on the other can expose each zone as a controllable entity. This is the cleanest result but requires identifying the panel's protocol first.
- Transformer-side control. For simple 12V or 24V lighting, a smart low voltage dimmer or relay placed at the transformer can switch whole zones without touching the legacy switch legs at all.
Failover: What Happens When the Network Drops
A smart bridge that takes the lights down with it is worse than no bridge. Design for failure:
- Keep the original mechanical switch as a parallel manual override on every zone.
- Put the smart module on a circuit that stays powered when the network gear does not.
- Test the failure mode deliberately: unplug the hub, kill the Wi-Fi, and confirm every zone still switches from the wall.
- Document the override location for building staff, because they will need it at 2 a.m.
Hazard Mitigation When You Open the Wall
- Knob-and-tube proximity. Old knob-and-tube conductors may still be energized and are often brittle. Treat any conductor you did not personally de-energize and test as live. Do not disturb knob-and-tube insulation to make room for new cable, reroute instead.
- Asbestos-containing materials. Older insulation, wire loom, and panel backers can contain asbestos. If you suspect it, stop, and have a licensed abatement professional assess before any cutting or drilling. The Environmental Protection Agency's asbestos guidance explains the rules for handling suspect materials.
If the scope feels bigger than a weekend, that is the point to call in a team that does this daily. Dalcorp Solutions Inc handles design, installation, and ongoing support for exactly these upgrades.
Frequently Asked Questions
Is 100-year-old low voltage wiring safe to keep in service?
Not usually. Wiring that old often has brittle insulation, corroded terminals, and no grounding path. If it runs near knob-and-tube or asbestos, disturbing it can release hazards. A licensed low voltage contractor can test circuit continuity and insulation resistance to confirm whether replacement is needed. Upgrading old low voltage building wiring can be a more effective long-term solution than repeated repairs.
What are the NEC requirements for upgrading legacy low voltage systems?
The NEC covers low voltage wiring under Article 725 for Class 1, 2, and 3 circuits. Key points include keeping power-limited wiring separate from line voltage, using listed cable and terminal blocks, and proper grounding. Class 2 circuits must not share a raceway with 110V or 220V conductors unless the cable is rated for it. Local inspectors in the Chicagoland area enforce these rules during permits.
Can I integrate modern smart systems with existing low voltage infrastructure?
Often yes, but it depends on the wiring type. If your building has Cat5 or better, many smart switches and access control panels can reuse it. Older 2-wire relay systems usually need a bridge module or new signal cable. A site survey identifies which runs are reusable. Upgrading old low voltage building wiring with Cat6A and conduit makes future smart home or building automation additions much easier.
How much does it cost to replace low voltage wiring in a commercial building?
Cost to replace low voltage wiring depends on building size, cable type, conduit runs, and whether walls need opening. Pricing depends on quantity, dates, and delivery, so there is no single figure. Factors include Cat6 vs. Cat6A, number of drops, and access to ceilings. Request a quote from a licensed contractor for an accurate number based on your site survey.
- Hits: 3