How to Design a Smart Home Security Layout Step by Step
A smart home security layout starts with mapping your risks, since most break-ins happen through doors and ground-floor windows. Walk your home, mark every entry point on a floor plan, rank them by risk, then place cameras and sensors on the paths people actually use.
Last Updated: November 10, 2026
Quick Summary
- Mount cameras around 8 to 10 feet high and angle them slightly downward.
- Use a wider lens for yards and driveways and a narrower lens for faces at doors.
- Keep contact sensor gaps no wider than about half an inch.
- Do not forget the garage-to-house door, which is often skipped in planning.
- Arm the system and test every sensor, camera view, and alert before finishing.
Table of Contents
- Assessing Your Household Security Needs and Risks
- Mapping Doors, Windows, and Other Entry Points on a Floor Plan
- Planning Camera Placement and Field of View
- Positioning Motion and Contact Sensors
- Choosing Alarms, Keypads, and Smart Locks
- Setting Up Your Hub: Aqara Security System Setup Steps
- Testing Coverage, Blind Spots, and Network Resilience
- Scheduling Your Next Step: Booking a Layout Review with Dalcorp
- Frequently Asked Questions
Assessing Your Household Security Needs and Risks
Before you choose a single device, you need to know what you are protecting and from whom. A smart security planning guide walks through mapping entry points, choosing sensors, and planning low-voltage infrastructure before you buy a system. A smart home security layout starts with a clear picture of your risks.
Start by walking your home and asking a few simple questions:
- Which entry points are most used, like the front door, back door, and garage?
- Which windows are hidden from the street or neighbors?
- Do you have valuables, pets, or kids who need extra watching?
Write your answers down. This list becomes the foundation for every choice that follows.
Mapping Doors, Windows, and Other Entry Points on a Floor Plan
Next, sketch your home's floor plan and mark every entry point. Include doors, windows, sliding glass doors, basement hatches, and garage access.
Then rank each entry point by risk. A ground-floor slider facing a back yard is a higher priority than a second-story bedroom window.
Watch out: Forgetting the garage is a common mistake. Many homes have an unlocked door from the garage into the house, and it often gets skipped in planning.
Planning Camera Placement and Field of View
Cameras work best when they cover paths people actually use. Aim them at entry points and driveways rather than the middle of a room. Mount them high enough to be out of easy reach, usually around 8 to 10 feet, and angle them slightly downward.
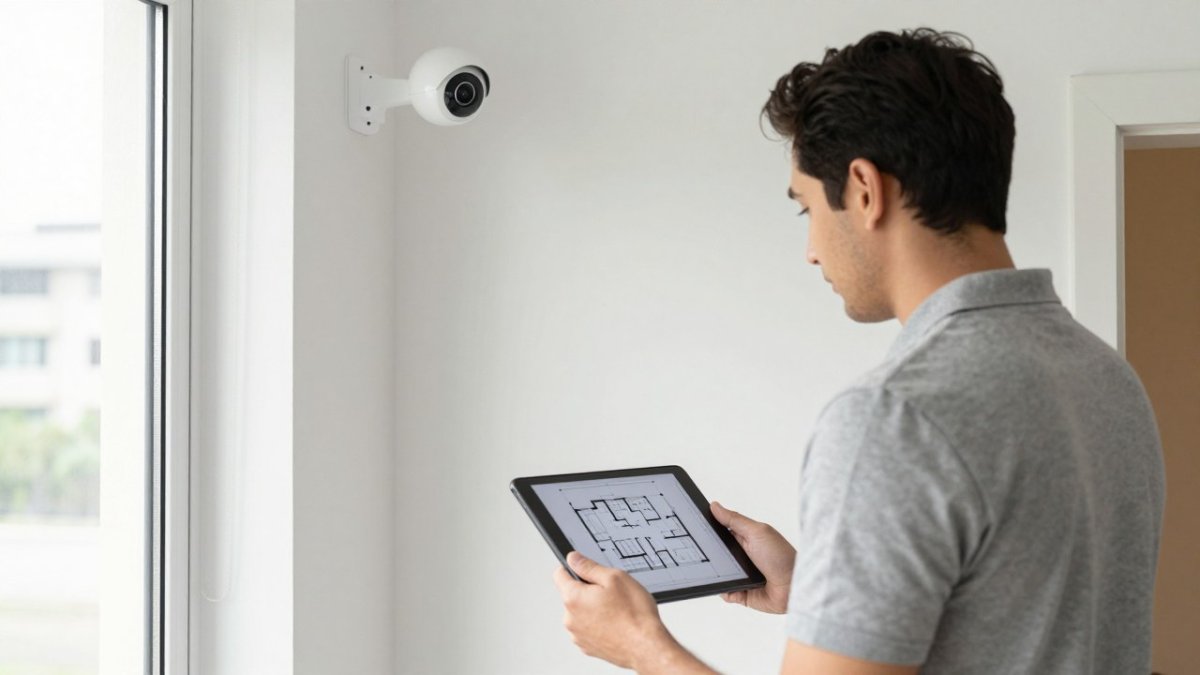
Think about the field of view for each camera. A wide-angle lens sees more area but makes faces smaller. For faces, place the camera so people walk toward it, not across its view.
Room-by-Room Camera Examples
- Front entry: One camera aimed at the door, covering the porch and steps. Mount it on the hinge side of the door, angled toward the approach, so a visitor faces the lens as they walk up.
- Back door: One camera covering the patio and the door handle. Keep it out from under the eaves if the eave casts a hard shadow at night.
- Driveway or garage: One camera covering the vehicle area and side door. Aim it to catch the license-plate zone at the point where a vehicle slows, not where it is moving fastest.
Device-Specific Placement Constraints
General advice only gets you so far; each camera type has limits you have to design around.
- Wired vs. battery cameras: A wired camera can run continuously and support a higher frame rate, but you need power at the mount. A battery camera is easier to place but records in bursts and needs recharging, so put it where you can reach it safely.
- Lighting: Infrared night vision washes out when a bright light or reflective surface sits close to the lens. Keep the camera a few feet away from porch lights and avoid aiming across a white wall or gutter downspout.
- Weather exposure: Check the camera's operating temperature range and whether it is rated for direct rain. Under an eave is better than fully exposed, and a sun shade reduces heat buildup in summer.
Lighting changes the view more than most people expect, so test each camera at night before you finish.
Watch out: A camera aimed at a neighbor's window or a shared walkway can create privacy complaints and, in some places, legal exposure. Frame the shot to stay on your property.
Positioning Motion and Contact Sensors
Contact sensors go on doors and windows. They send an alert when something opens. Mount the magnet on the moving part and the sensor on the frame, with the gap no wider than about half an inch.
Motion sensors cover open areas. Place them where they can see the path to a door or a valuable room, not where they face a window that catches sunlight or a heating vent.
Choosing Alarms, Keypads, and Smart Locks
Your control devices tie the system together. A keypad near the main entry lets you arm and disarm quickly. A siren adds a loud warning.
When you compare options, check:
- Does it work with the other devices you plan to buy?
- Does it need a hub or connect directly to Wi-Fi?
- Can you control it without a monthly fee?
Compare the options before you buy any single device.
Check the compatibility list for both devices before you buy. If you are wondering whether your smart locks work with a video doorbell, this article explains the options: one app, a partner integration, or a hub.
Setting Up Your Hub: Aqara Security System Setup Steps
A hub is the brain of your system. The general setup order is simple:
- Place the hub near your router, in a central spot.
- Plug it in and connect it to your router with an Ethernet cable if you can.
- Open the Aqara app and create an account.
- Add the hub, then add each sensor one at a time.
- Name each device by room and entry point, such as "Back Door Sensor."
- Run a test by opening each door and window while the system is armed.
Name your devices clearly from the start. Clear names make alerts easier to read later.
Testing Coverage, Blind Spots, and Network Resilience
Once everything is installed, test the whole layout. Walk the house with the system armed and check that each sensor triggers. Then review the camera feeds from your phone at different times of day. This section gives you a repeatable walkthrough so you can prove the layout works, not just assume it does.
A Repeatable Coverage Walkthrough
Run this sequence after installation and again after any furniture move or device change.
- Arm the system and open every protected door and window one at a time. Confirm the app shows the correct device name and zone. A mislabeled sensor is almost as bad as a missing one.
- Walk each motion sensor's coverage path slowly. Move from the entry toward the protected room and note where the sensor first triggers. If it triggers only when you are already in the room, the mount is too high or angled wrong.
- Check camera fields of view at three times: morning, dusk, and full dark. At each time, stand at the door and at the driveway and confirm a face and a plate are readable. Note glare, shadow, and washout.
- Trigger every alert and confirm delivery. Have someone open a door while you watch the phone. Time how long the push notification takes. If alerts arrive late or not at all, the problem is usually Wi-Fi signal or a notification setting, not the sensor.
- Test the siren and keypad from outside. Arm and disarm from the exterior keypad and confirm the siren is audible from the far end of the house.
Blind-Spot Checklist
Look for these common gaps and adjust a device if one area goes unseen:
- Corners where two walls meet and no camera looks into the angle.
- Behind furniture, tall plants, or a parked car that blocks a motion sensor's line of sight.
- The gap between a door and the first camera, where someone can stand against the wall.
- Stairs and hallways that a single camera cannot cover end to end.
Network Resilience and Outage Planning
Power and internet can fail during storms, and a layout that ignores that will go dark exactly when you need it.
- Wi-Fi dead zones: Test signal at each device mount with your phone. If a camera or hub sits at one bar, add a mesh node or move the device closer. A hub placed in a central closet often beats one tucked behind the router.
- Power loss: A battery backup on the hub and router keeps the system reporting for a while. Cameras on battery continue; wired cameras without backup do not.
- Internet outage: A cellular backup on the hub can still send alerts when the broadband line drops. Confirm your plan includes it if remote alerts matter to you.
- Local vs. cloud recording: A camera with local storage keeps recording during an internet outage; a cloud-only camera may not. Decide which you need before you buy.
Privacy and Data Security
Privacy matters as well. Change default passwords, turn on two-factor login where it is offered, and do not point indoor cameras at private areas of guests' spaces. Review each camera's data-retention setting and shorten it if you do not need weeks of footage. Keep outdoor cameras framed on your own property, and tell household members and regular visitors where indoor cameras are.
The walkthrough below summarises the key checks to run after installation.
| Check | What to do | Frequency or timing |
|---|---|---|
| Contact sensors | Open each door and window while armed; confirm the correct zone name | After installation and after any device change |
| Camera view | Confirm a face and plate are readable at the door and driveway | Morning, dusk, and full dark |
| Alert delivery | Trigger an alert and time the push notification | After installation |
| Siren and keypad | Arm and disarm from outside; confirm the siren is audible from the far end of the house | After installation |
| Wi-Fi signal | Check signal at each device mount with your phone | Before mounting devices |
| Garage-to-house door | Confirm it is covered; it is often skipped | During blind-spot review |
Scheduling Your Next Step: Booking a Layout Review with Dalcorp
You now have a clear method: assess your risks, map entry points, place cameras and sensors, choose controls, set up your hub, and test the result. If you want a second set of eyes on your floor plan, Dalcorp Solutions Inc is licensed and insured, factory-certified on installations, and has completed more than 2,000 projects over 25 years in Chicagoland.
Frequently Asked Questions
How do I build my own home security system?
Start with a floor plan and list every door, ground-floor window, and garage entry. Choose a hub or ecosystem first so devices stay compatible, then add door and window contact sensors at each entry point, one or two cameras covering the main approaches, and a keypad or smart lock at the primary door. Install devices one room at a time, test each sensor and camera from the app, and confirm alerts reach your phone before moving to the next area. Many homeowners handle this themselves, but wiring, cameras mounted above reach, and network setup can justify professional help.
Where should I place security cameras and door sensors?
Mount cameras high enough to be out of easy reach, usually about 8 to 10 feet, and angle them to cover entry doors and approach paths rather than pointing straight at a window glare source. Place door and window contact sensors on the moving part of each opening, with the magnet on the door or sash and the sensor on the frame, keeping the gap small enough to close reliably. Test each sensor by opening and closing the opening while watching the app, and confirm that the camera view does not include blind corners near the entry.
What security system do burglars hate?
Burglars tend to avoid homes where entry is slow and visible. Layered protection works best: visible cameras at entries, door and window sensors that trigger audible alarms, exterior lighting on motion, and a locked door with a reinforced strike plate. No single device is a guarantee, but a layout that makes the first entry point loud, lit, and recorded discourages most opportunistic attempts. Make sure alerts reach you and a neighbor or monitoring service even when you are away.
Can smart home security devices work together across different ecosystems?
Sometimes, but compatibility is narrower than product marketing suggests. Some devices support Matter, Thread, Zigbee, or Z-Wave bridging, which lets them work with multiple platforms, while others only pair with their own app. Before buying, check each device's supported hub, confirm whether it needs a separate bridge, and verify that your alarm, camera, and lock can send alerts to one shared app. Mixing ecosystems is possible, but keeping most devices on one hub simplifies setup, troubleshooting, and firmware updates.

- Hits: 2